Ever wonder how everyone is getting all those adorable swooshes from their fonts on to Cricut Design Space?
This is a quick and simple process that anyone can do!
Lets get started! Today I will be showing you how you can use alternate letters (glyphs) within Cricut Design Space.
Step One- Choose your font
Before you begin, you will need know where you can find fonts. Also, not all of the font will work, so you have to look and find fonts that have alternative letter options or glyphs.
my favorite website Creative Fabrica to show you this.
For this tutorial, I am using a font called Retro Smile
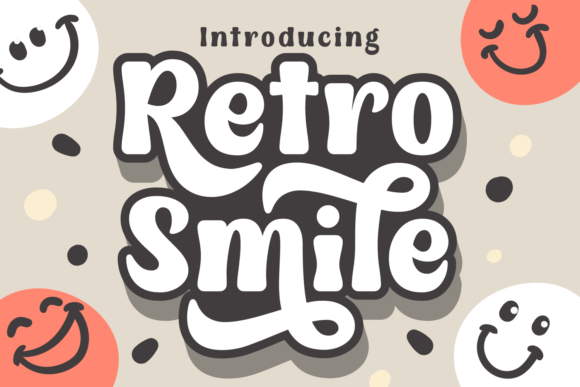
From this font image you can already see that it will have some alternative letters


While on the page for the font scroll down until you see TRY THIS FONT and you will see a button called VIEW ALL GLYPHS
In Creative Fabrica they highlight all of the encoded (alternative) letters in yellow so they are easily identifiable.
This basically means the designer who designed this font included few different options for certain letters, how cool! So that you can switch the alternates around to make custom lettering designs. This tutorial works with any fonts that have such options! Go ahead and search any font style you are looking for then download them on your computer.
Step Two- Install the font
If you have never used font with Cricut, have you noticed that you can’t just open font file with Cricut. *insert eyeroll*
So, lets start with downloading your font straight to your computer. With a Mac, you just open the font you downloaded, then double click the one with OTF extension.
Then below it says “install font” so go ahead and click it. When you did this , you added the font onto your computer system. You can now use this font with other software other than Cricut, like with Excel, Word, Illustrator, and more!
After installing the font, now it’s time to play around on Cricut Design Space!
Step Three- Edit font on Cricut Design Space
open the Design Space.
Click New Project, then click Text.
Type out your name or a word you want to work with, then go to font > then search “Retro Smile or your font choice you want to use.
Side note- from here you can also see if any of your fonts you already own have any alternative letters!
Next up, in your computers search type in Font Book from finder. Or, if you use Windows, you can search Character Map from the drop-down menu, and you can locate your font.
After opening the Font Book, search Retro Smile font and locate your font. It will look like this, and the alternates are usually toward the bottom of the screen.

From here you just copy and paste each alternate letter into Cricut Design Space using Command + C and Command + V
Once you are happy with your design, then don’t forget to select the design, then attach it together! Now you’re ready to cut!


Need to access alternate letters on an iPad? How to use font glyphs in Cricut Design Space on iPad
